Installing Ubuntu 18
In the following example I'm using VMware v5.5 on which I'm installing Ubuntu 18.
- Create a virtual machine
- Boot the virtual machine
- Install Ubuntu
- Configure Ubuntu
- Install Open VMware Tools
Create a virtual machine
If you want to have a consistent state of your machine (e.g. if you're using it as a server for downloading Ubuntu updates), disconnect the virtual network card from the network (disconnect, not remove!).
Boot the virtual machine
Make sure to download the ubuntu-18.04.2-server-amd64.iso as ubuntu-18.04.2-live-server-amd64.iso seems to have some bugs in the installer.
I assume that no one out there still uses 32 bit systems. Otherwise you have to use the 32 bit image.
Download link: Ubuntu 18.04.2 LTS (Bionic Beaver)
Insert the ubuntu-18.04.2-server-amd64.iso into the virtual DVD/CD drive. Press Ctrl+C (maybe a few times until the system boots from the CD image).
Install Ubuntu
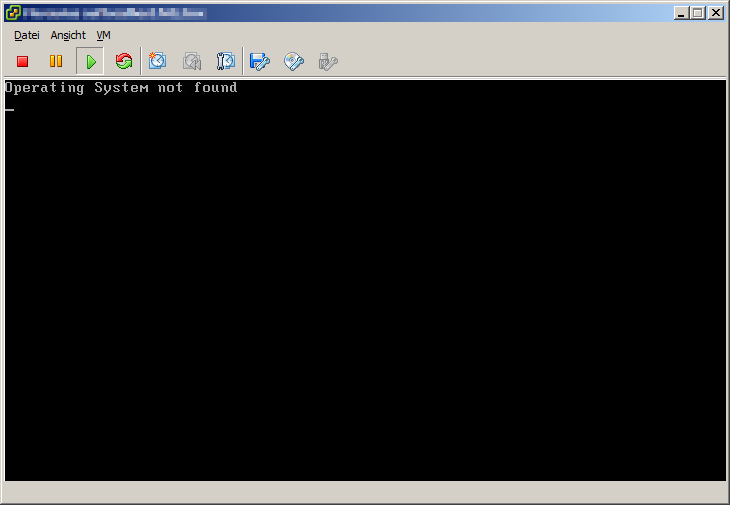
If you have no network card, simply press Ctrl+C.
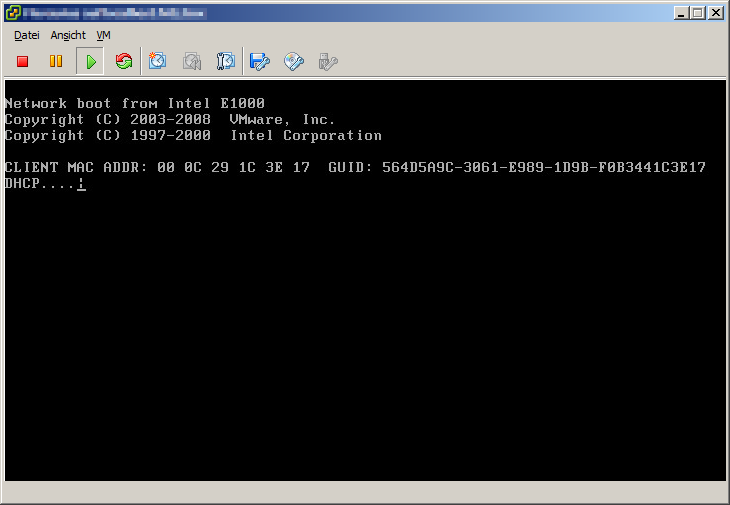
If you have a network card, you have to press Ctrl+C ...
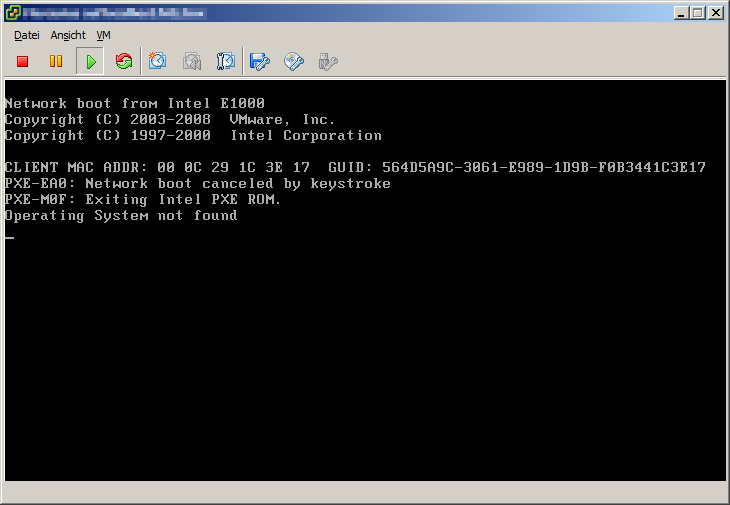
... and again.
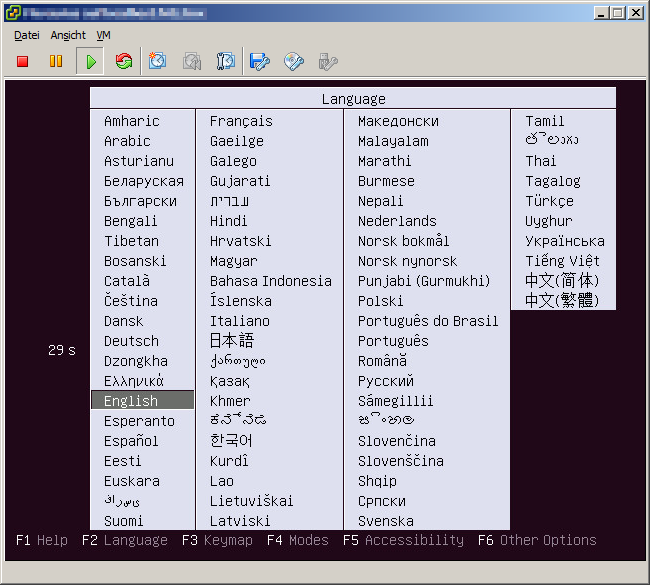
The boot menu of the CD-ROM will show up and ask you for the language during the installation process.
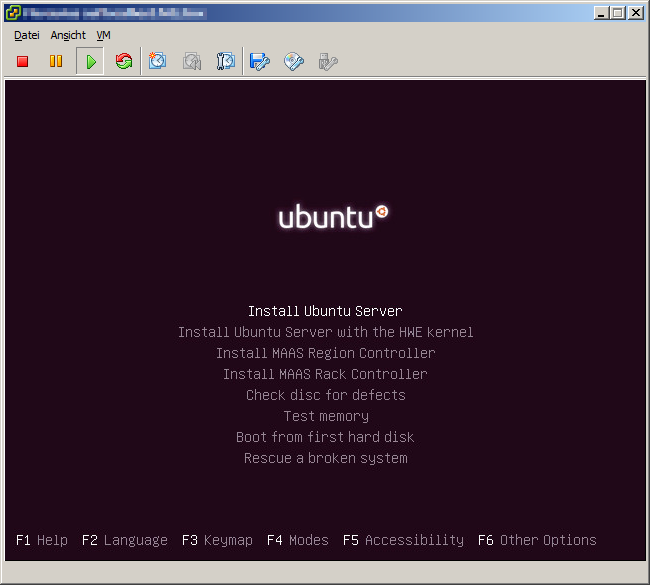
Press F4 in the main menu.
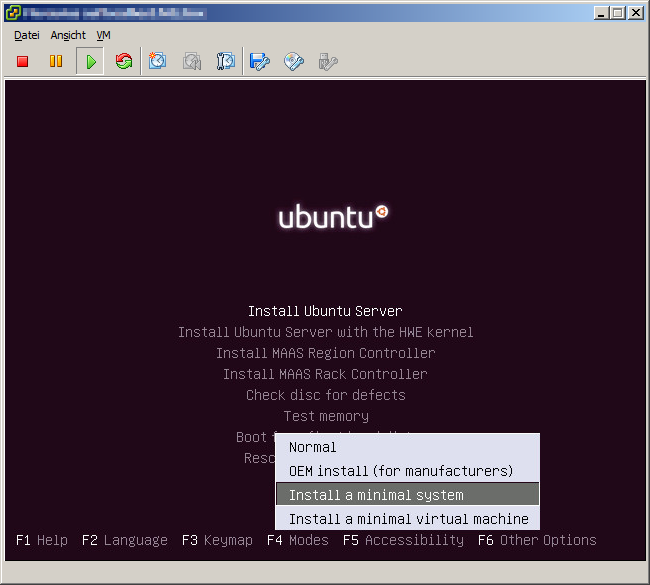
Select Install a minimal system.
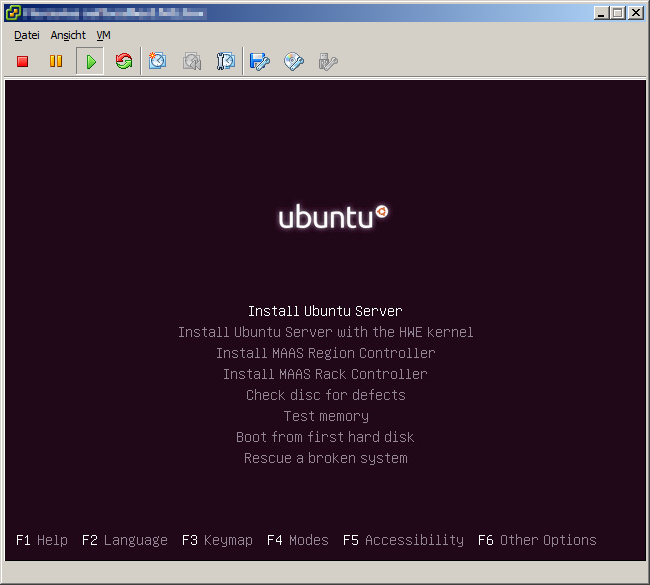
Now select Install Ubuntu Server.
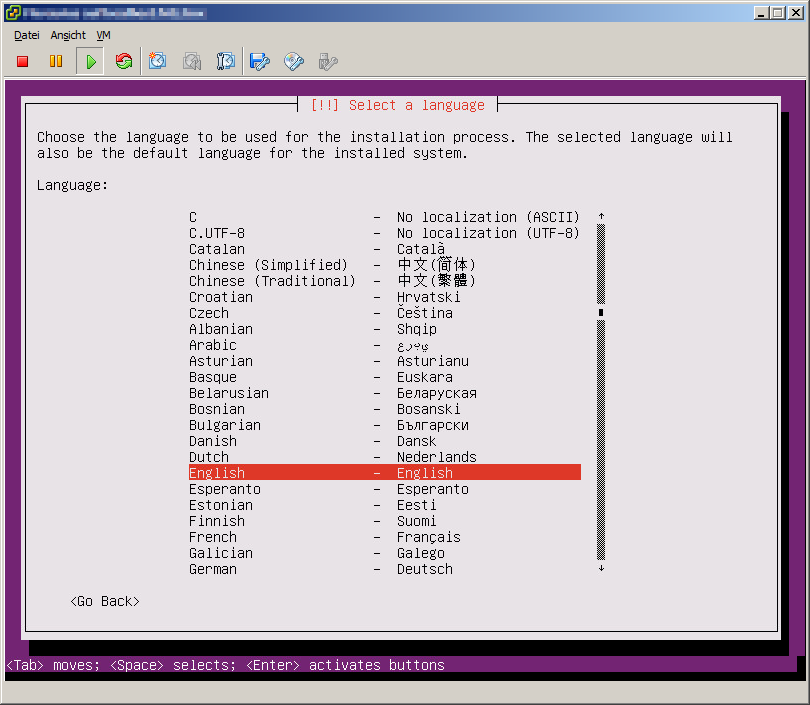
Choose the language of the installation.
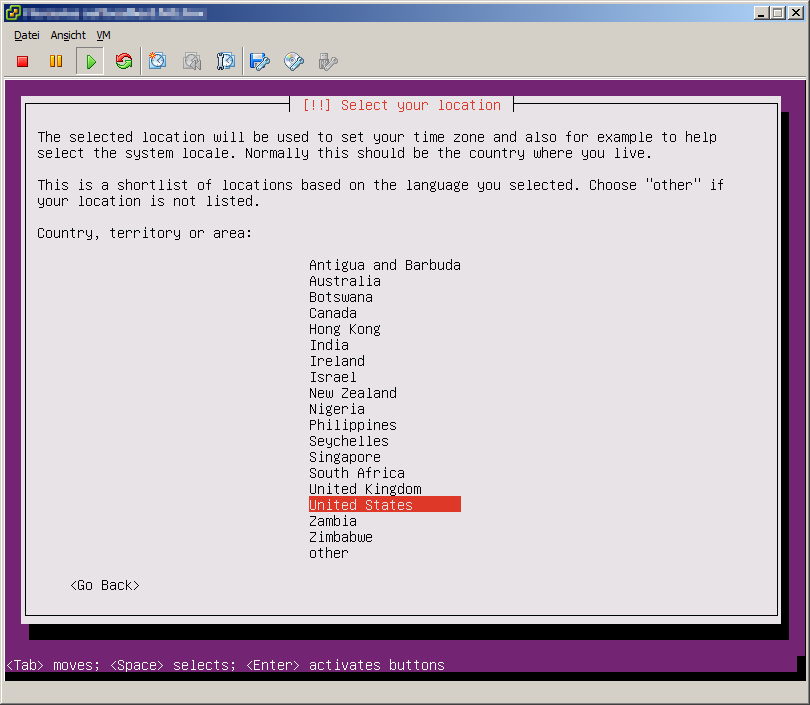
Choose the country of the installation.
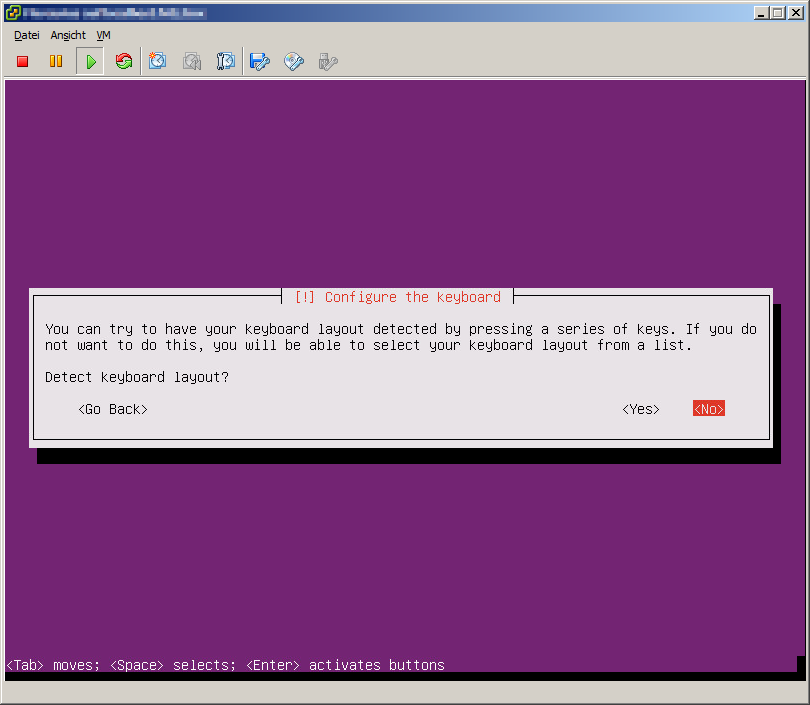
We select the keyboard layout by ourselves. So select No.
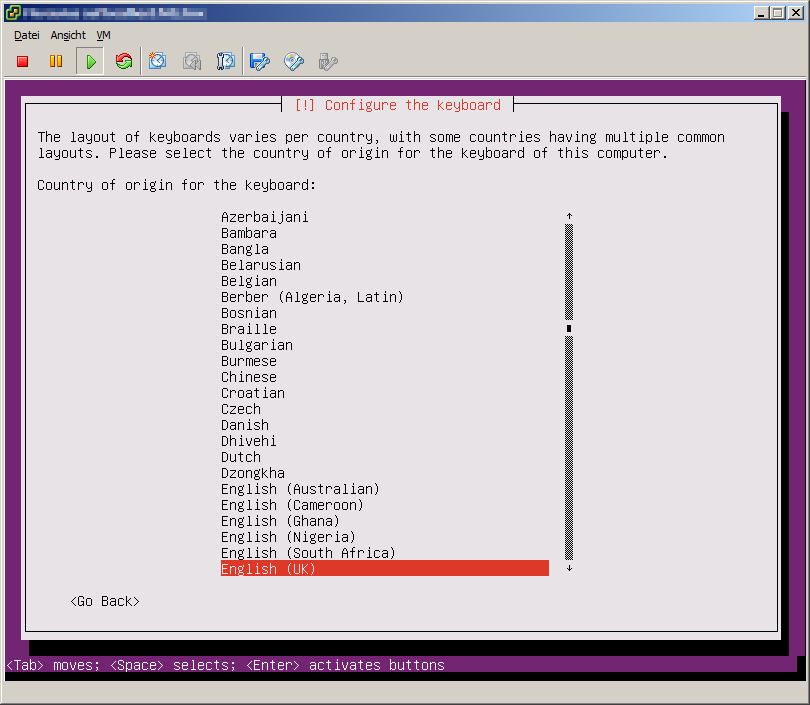
Select the country of the keyboard.
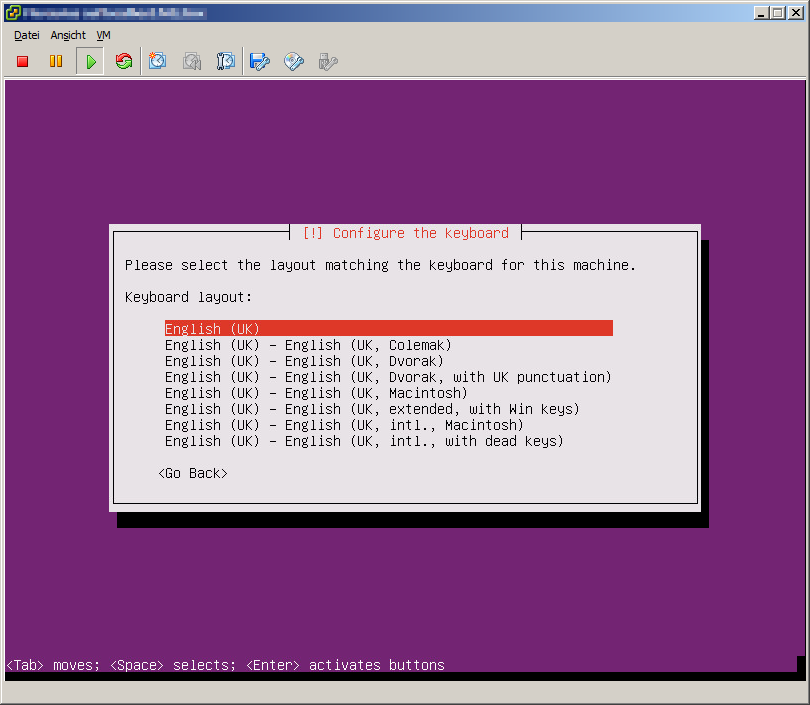
Select the layout of the keyboard.
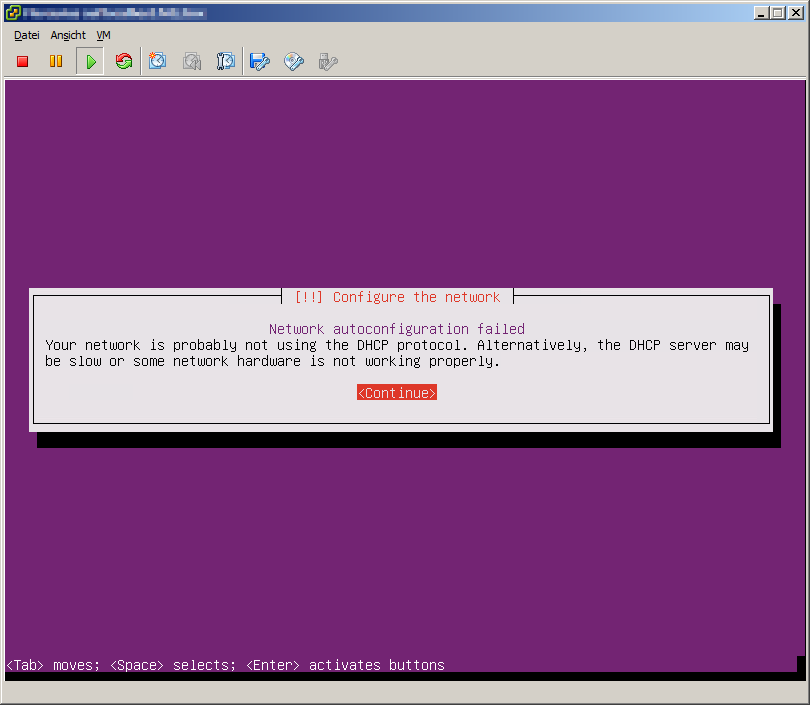
After some loading you'll get the message (if you have a network card and it isn't connected) that DHCP doesn't work. Just continue. If your network card is connected, the system might continue with a DHCP configuration.
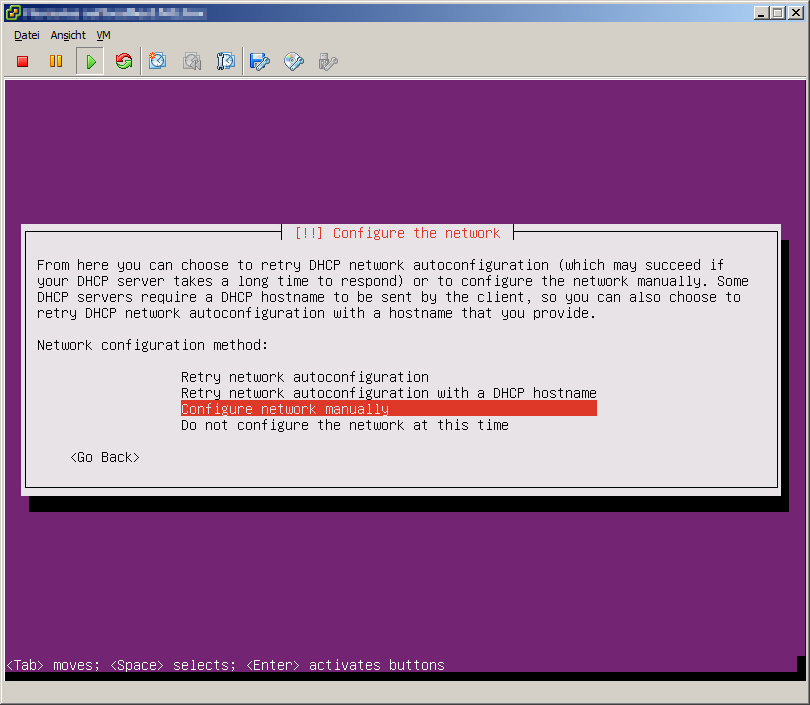
Select Configure network manually.
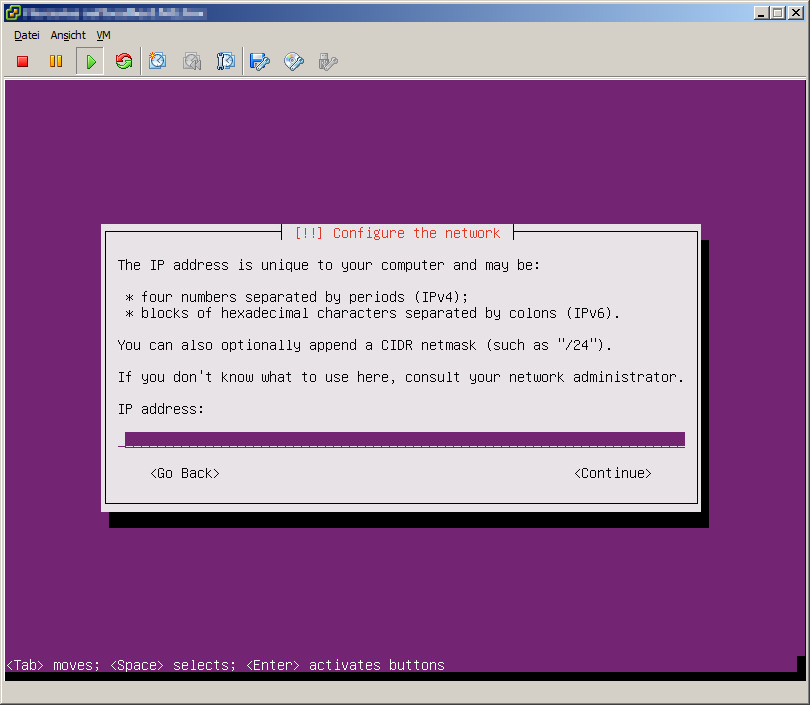
Enter your IP address (e.g. 192.168.1.2).
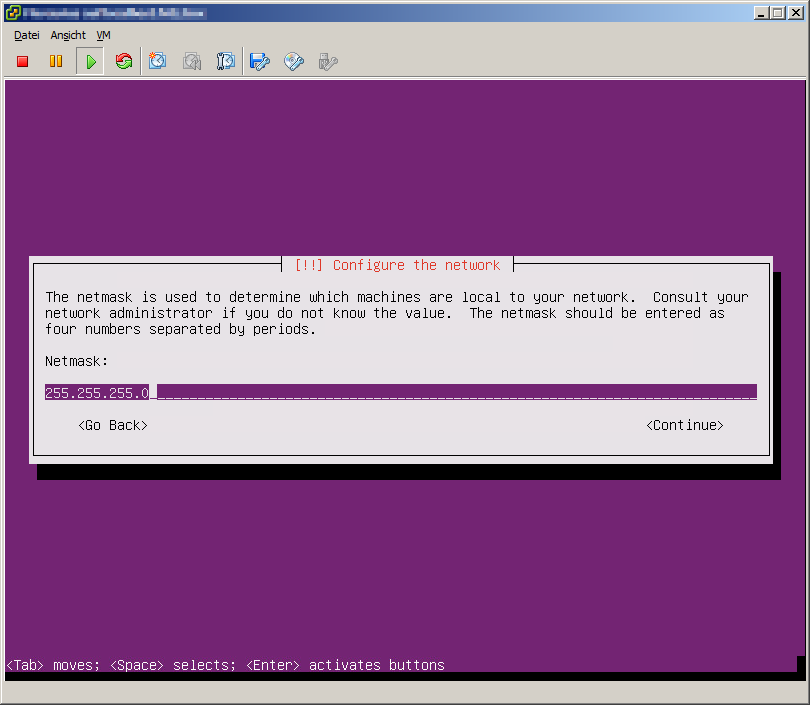
Enter your netmask (e.g. 255.255.255.0).
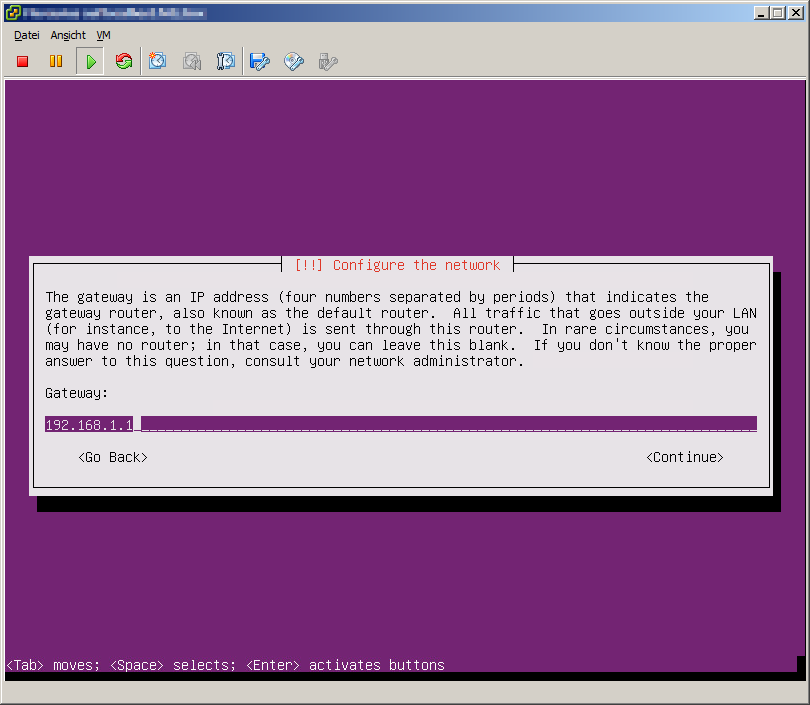
Enter the IP address of your gateway / router (e.g. 192.168.1.1).
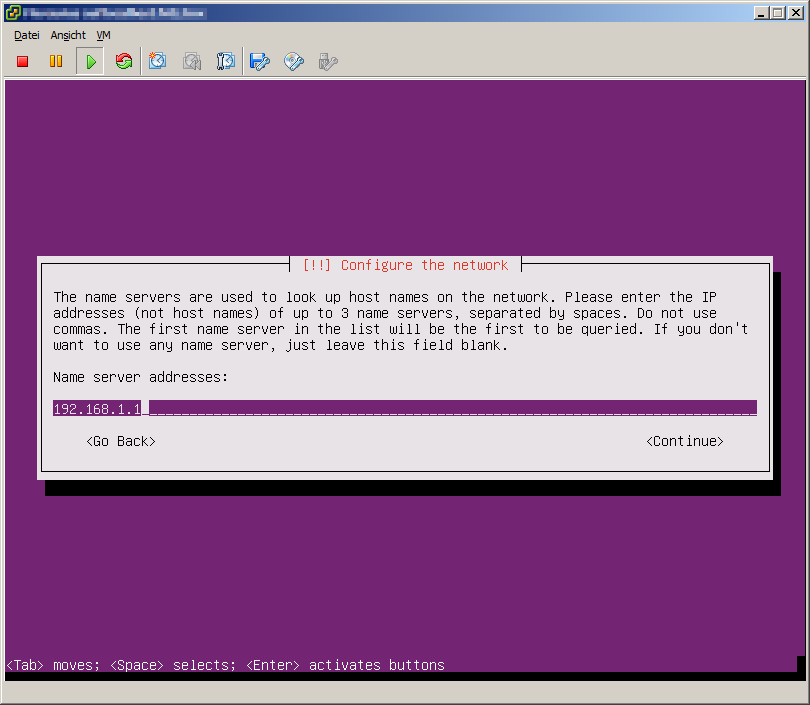
Enter the name server addresses (DNS server). Normally this is the address of your router (e.g. 192.168.1.1).
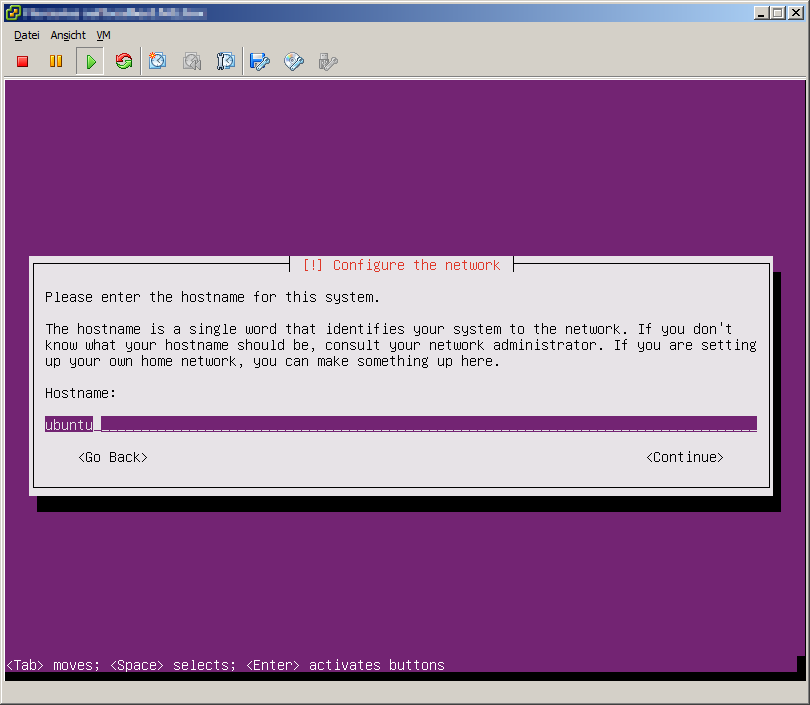
Now enter the name of the machine. That name should be unique in your network.
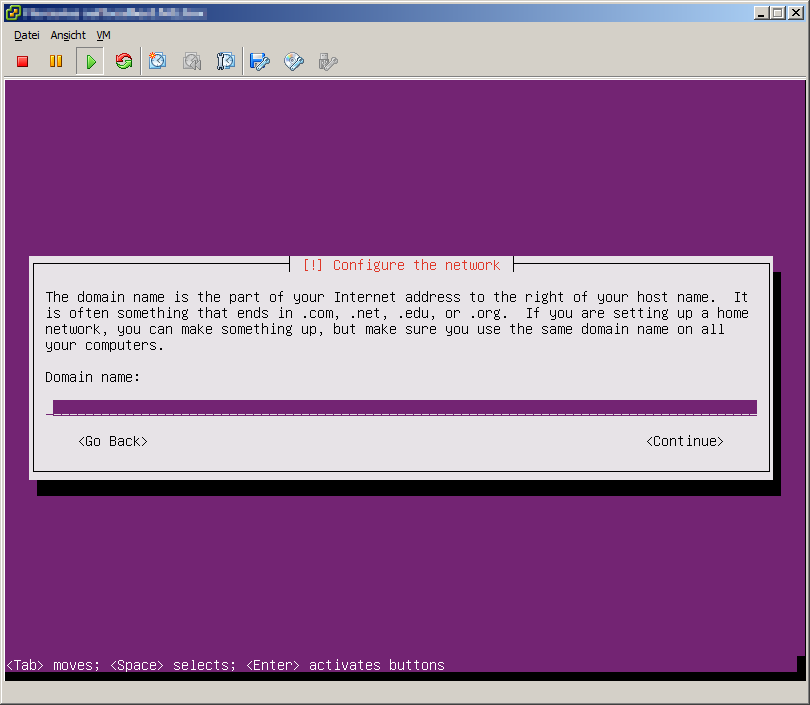
Enter the domain name. As most people don't have a domain at home you can leave it blank. If you're at a company, you can enter the internal domain of that company network here.
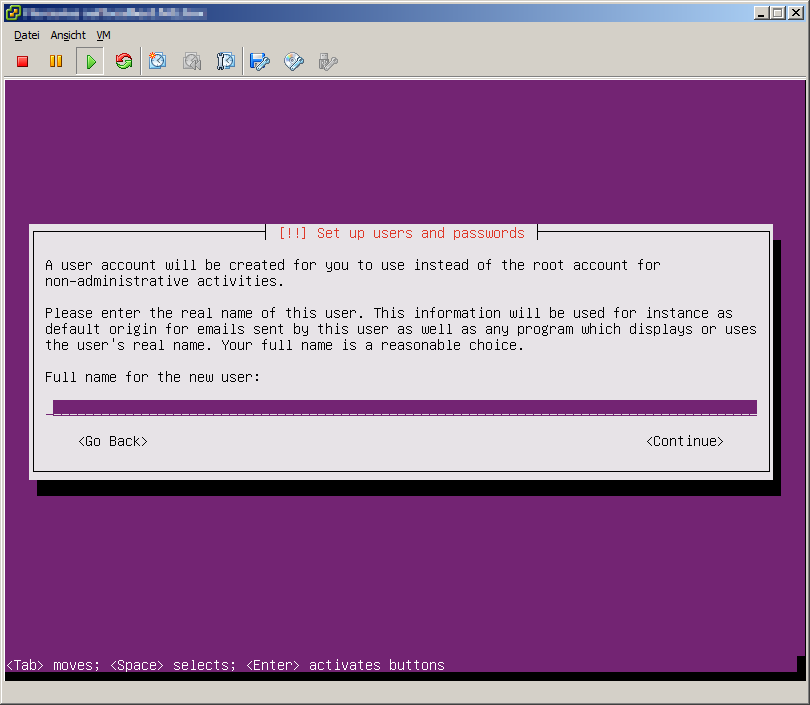
Enter the name of your user here (e.g. John Doe).
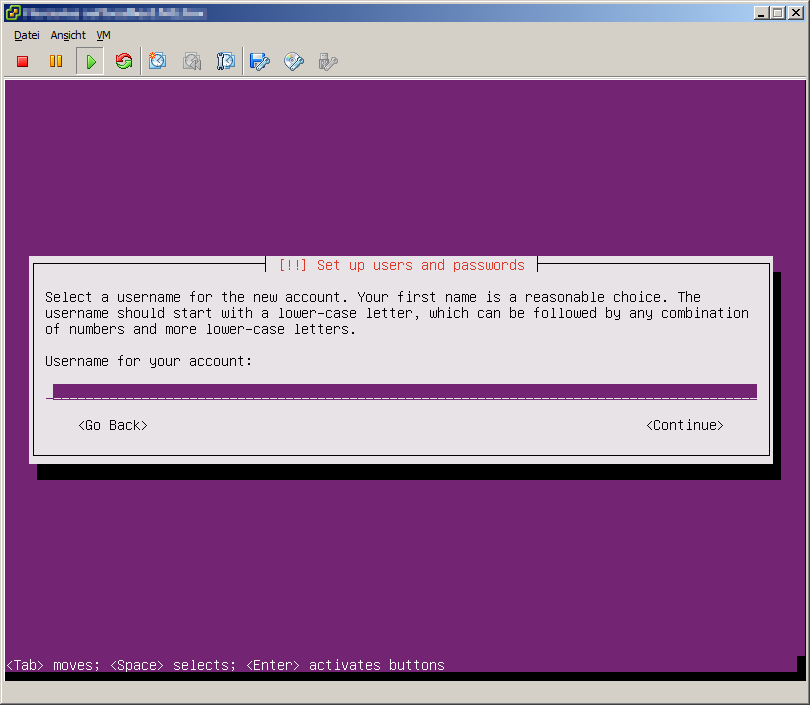
Enter the user-name of your user here (e.g. john.doe).
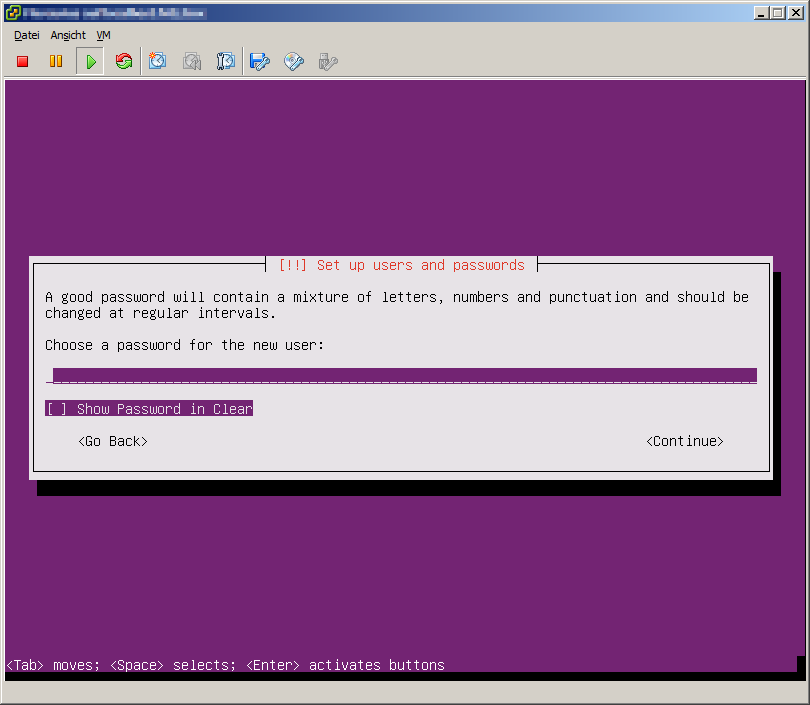
Now enter the password.
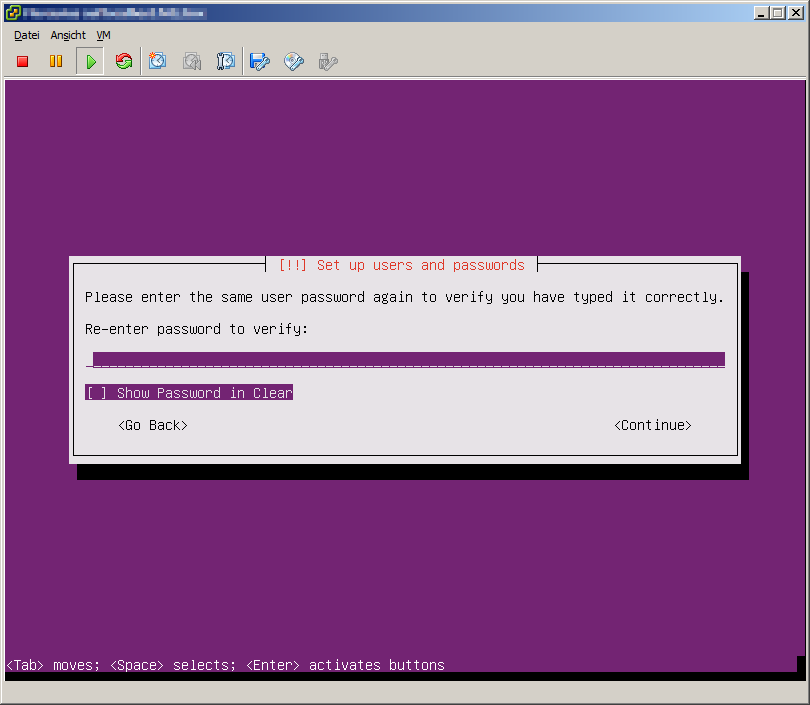
Verify the password by entering it again.
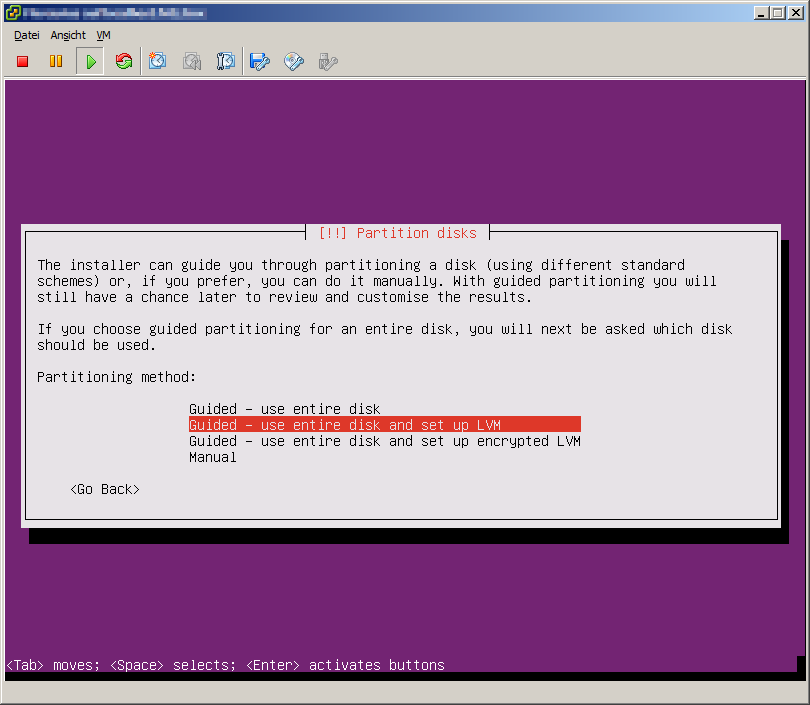
After some loading and set-up we have to partitioning our disk. Simply use Guided - use entire disk.
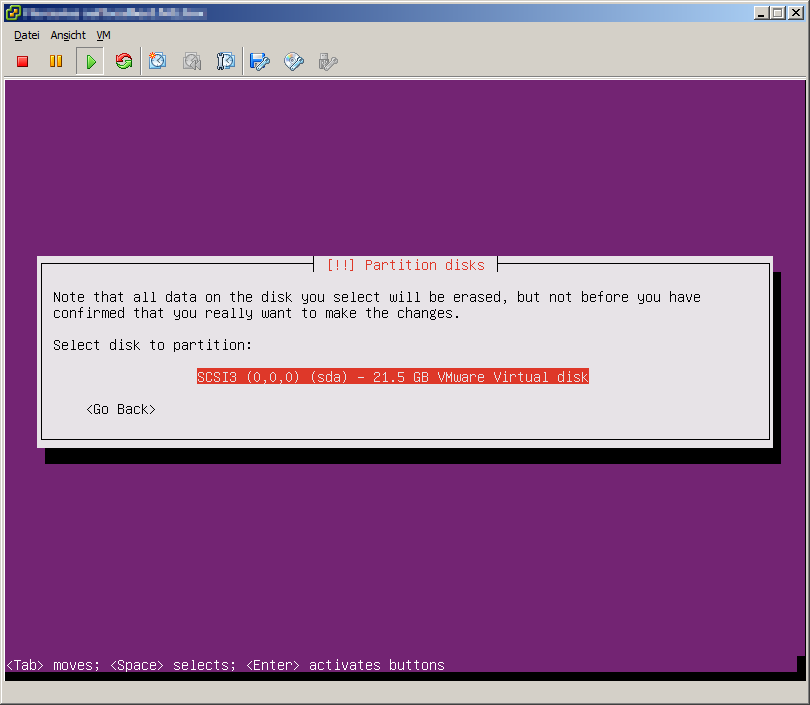
As I have only one disk, I'll use that one. And as I use VMware, it is shown with the corresponding name (VMware Virtual disk).
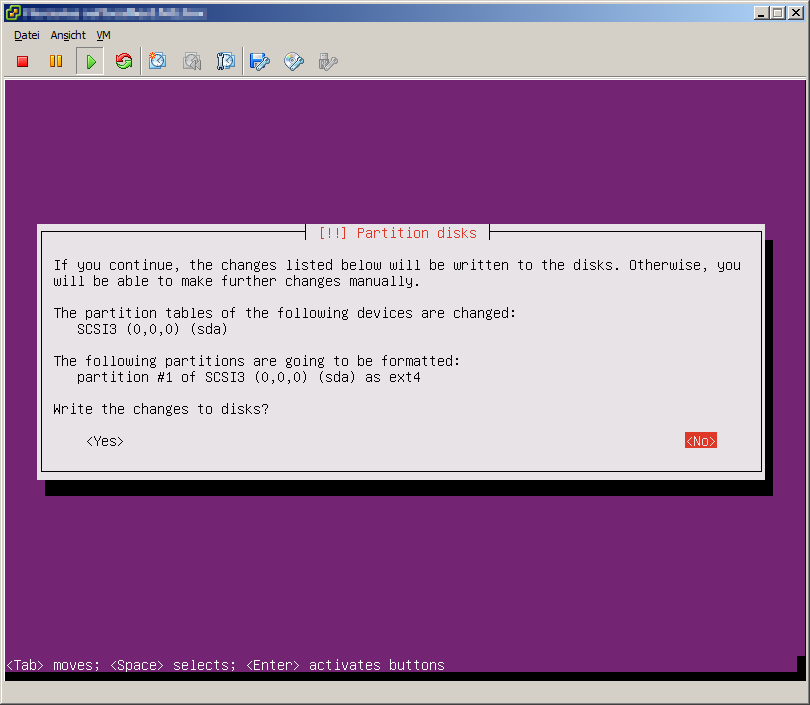
Write the changes to disk by selecting Yes.
Now the disk is formatted and base system is installed. Also some Debian packages will be installed on the system.
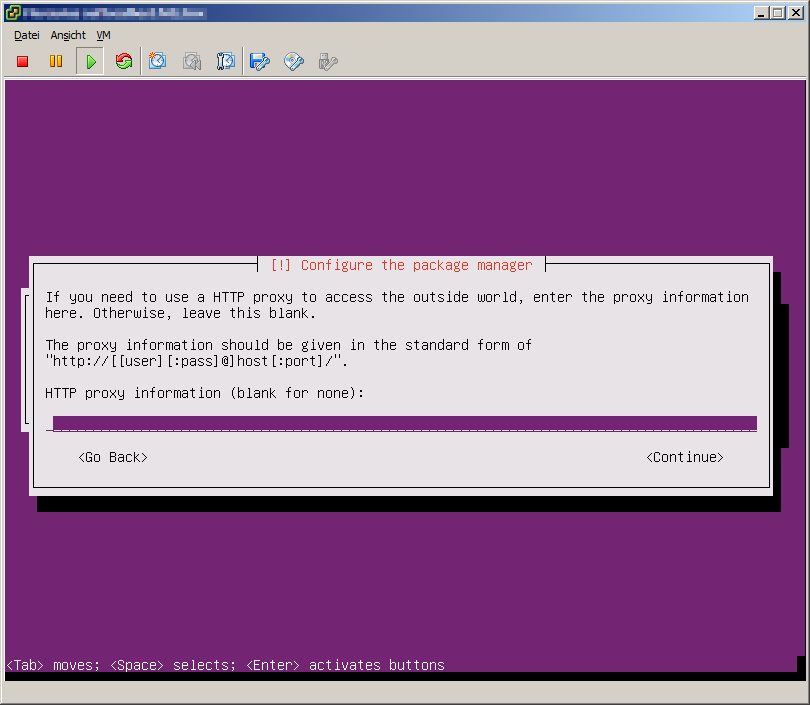
Finally the package manager needs to know your proxy for downloading package updates. If you have no proxy (which will be the case in most cases), you can leave it blank. Even if you have disconnected the network card, you should fill it in, if you have a proxy. Otherwise you'll have to do that later manually.
After that the installer will install some base packages.
Hint:
You can switch with Alt+F4 to console which contains the log of the installer. Using Alt+F1 you can switch back to the installer.
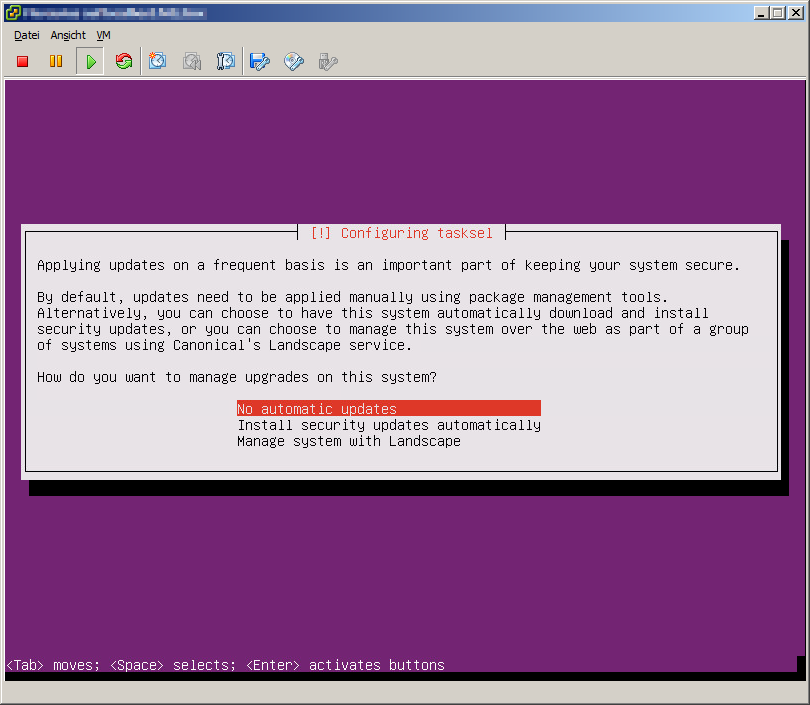
The installer will ask how updates should be managed. In most cases No automatic updates should be selected.
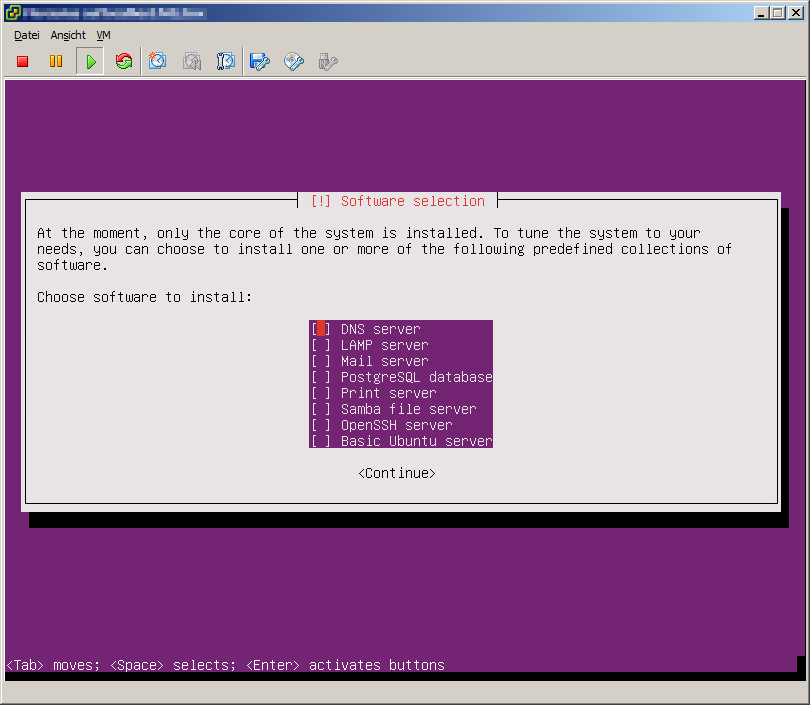
Select OpenSSH server in the software selection. Everything else can be installed later, but you need OpenSSH for being able to connect to the machine e.g. via PuTTY.
After that the installer will install all the necessary Debian packages. If the machine is connected to the Internet it also will download some updates from the Internet.
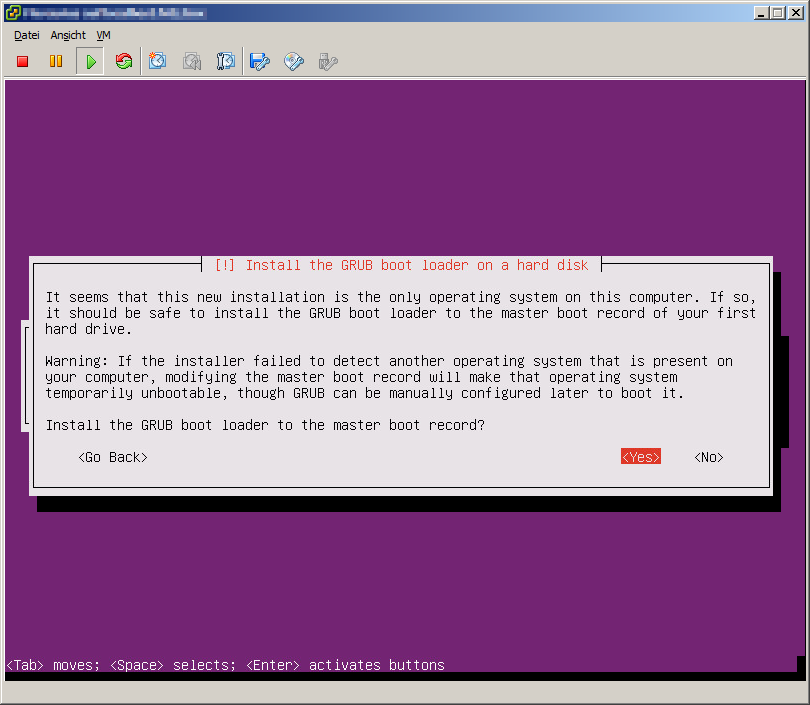
The GRUB boot loader needs to be installed to be able to boot Linux. Therefore select Yes.
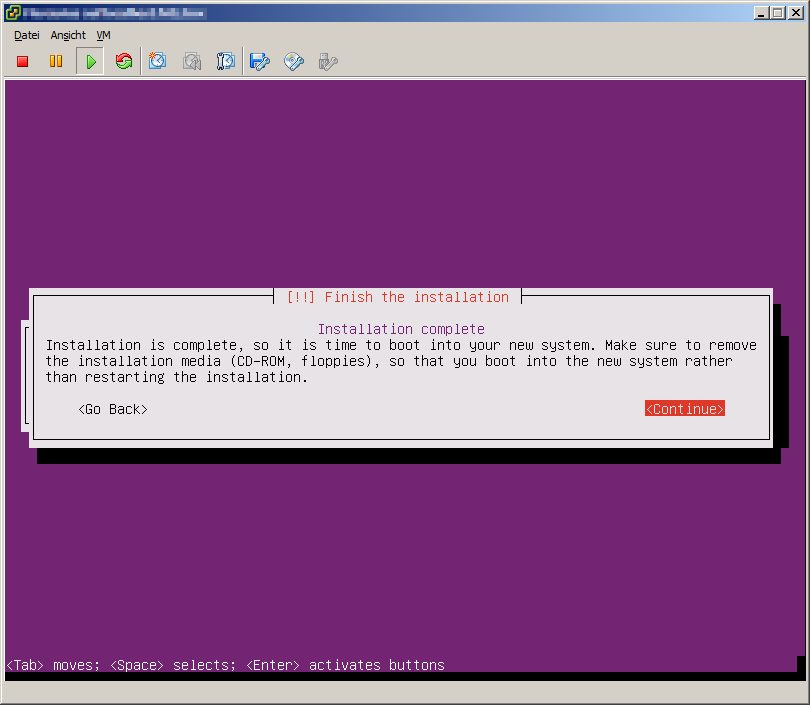
Now the installation is completed. Remove the ISO Image from the virtual DVD/CD drive. After that press Continue.
Now the system should reboot and Linux should be started.
Configure Ubuntu
I always do some minor modifications before starting to work with the system.
So log-in to the system using the user and password specific during the installation. Then change to the root user:
user@machine~$ sudo -s
After entering the password you should see a different prompt:
root@machine~#
Now we edit the boot configuration:
root@machine~# nano /etc/default/grub
And we change the line
GRUB_CMDLINE_LINUX=""
into
GRUB_CMDLINE_LINUX="console=tty7 panic=5 net.ifnames=0 biosdevname=0"
The console parameter ensures that messages of background processes will be send to the console tty7 and not the current console. I had the problem a few times that those messages "destroyed" the user interface of the program I started at the end of the boot process.
The panic parameter tells the Linux kernel what to do if a Kernel panic happens. The value 5 will cause a reboot instead of a halt (which is the default behavior).
The net.ifnames disables the Consistent Network Device Naming as I like the old ethX pattern more. The biosdevname also serves that purpose.
Save the file.
Now we configure the network:
root@machine~# nano /etc/netplan/01-netcfg.yaml
Change
ens32
into
eth0
The file should look similar to this:
# This file describes the network interfaces available on your system
# For more information, see netplan(5).
network:
  version: 2
  renderer: networkd
  ethernets:
    eth0:
          addresses: [ 192.168.1.2/24 ]
          gateway4: 192.168.1.1
          nameservers:
              addresses:
                      - "192.168.1.1"
Now we update the boot loader and reboot the machine:
root@machine~# update-grub
root@machine~# reboot
Now connect the virtual network card, if it isn't already connected. Also log-in and switch to the root user.
Hint:ifconfig seems to have been deprecated for years. The new command is ip. So you use ip a for listing all interfaces (or ip -c a for a little bit more color).
Now you also should be able to use e.g. PuTTY instead of the console of your hypervisor.
Let's get all updates (should not be done if you want to use that machine as an update server for obtaining Ubuntu updates):
root@machine~# apt-get update ; apt-get dist-upgrade
I recommend doing a reboot afterwards:
root@machine~# reboot
Then performing the same operation again:
root@machine~# apt-get update ; apt-get dist-upgrade
And finally removing any packages which aren't used any more:
root@machine~# apt-get autoremove
Install Open VMware Tools
In case you're running Ubuntu on VMware, the system is missing the VMware Tools. They are needed if you want to power-down the system without the need to log in. This is especially important if your VMware server is connected to a USV which may perform a shutdown of the system.
root@machine~# apt-get install open-vm-tools
