Installing OpenLDAP
In the following example I'm using OpenLDAP v2.4 running on Ubuntu Linux 18.
Installation
For installing Ubuntu Linux 18 see the Installing Ubuntu 18 tutorial.
As OpenLDAP is shipped with Ubuntu the installation is pretty easy:
root@machine~# apt-get install slapd ldap-utils
This installs the OpenLDAP service as well as some LDAP utilities.
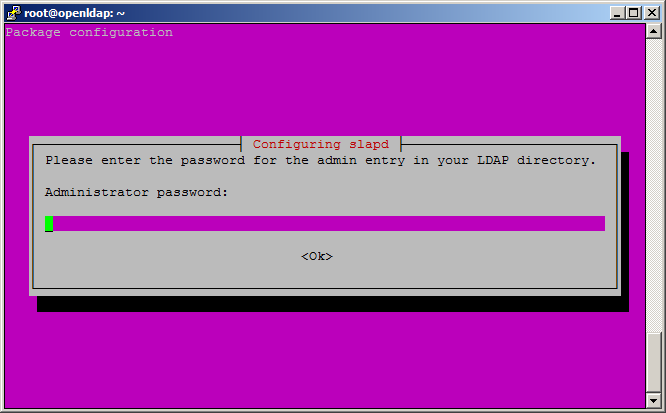
During the installation you will be asked for a password for the OpenLDAP service.
Enter the password for the administrator. This password is independent from the system's root password. It is the password for connecting to the LDAP service as administrator.
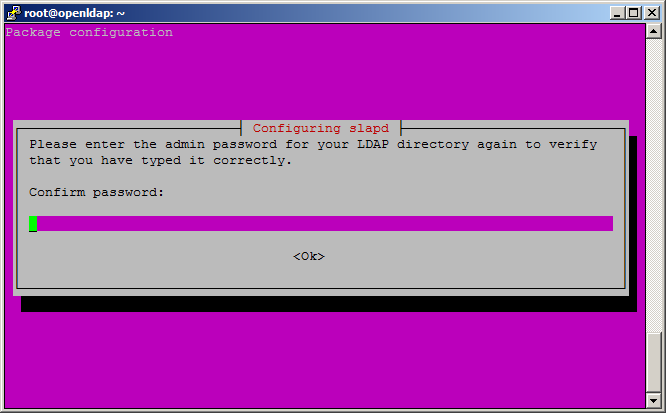
Re-enter it for verification.
Configuration
The first part of the installation is done within the console of the Linux system, the second part is done on your client (Windows, Linux, ...).
First we have do some basic configuration:
root@machine~# dpkg-reconfigure slapd
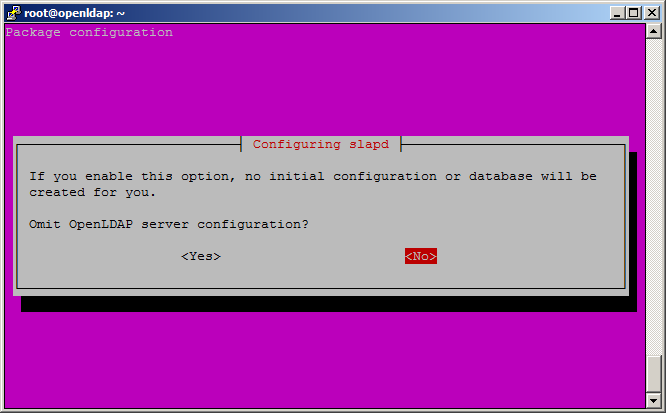
Don't omit the configuration.
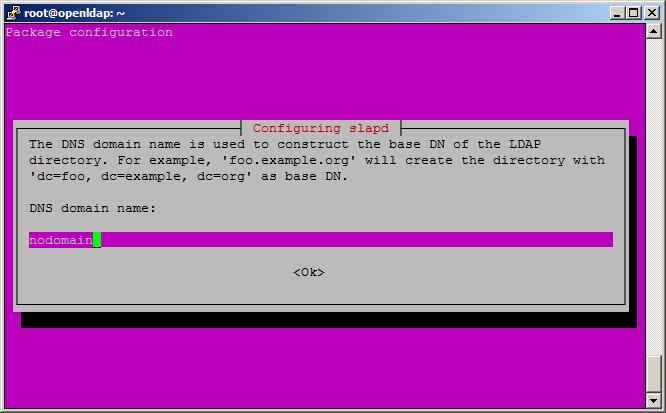
Now enter the DNS name of your LDAP. This will create the base DN for you based on the DNS (E.g. acme.org will become DC=acme,DC=org).
In the next step the configuration will ask for the organization name.
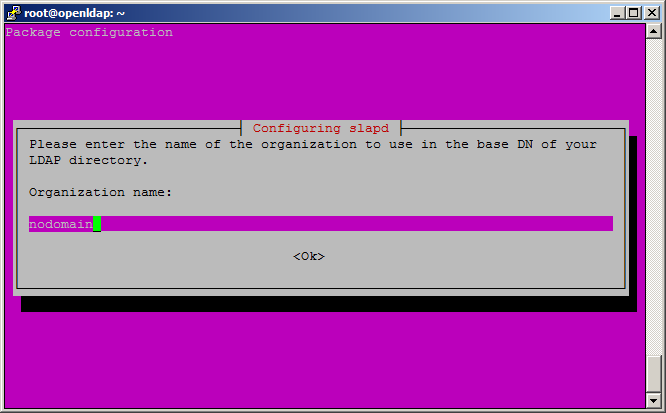
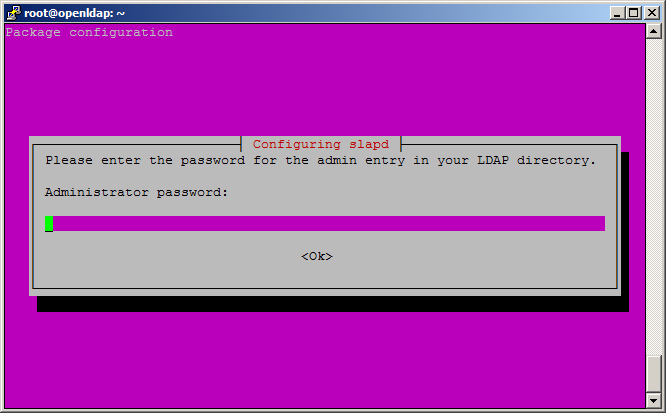
You'll be asked again for the LDAP administrator password.
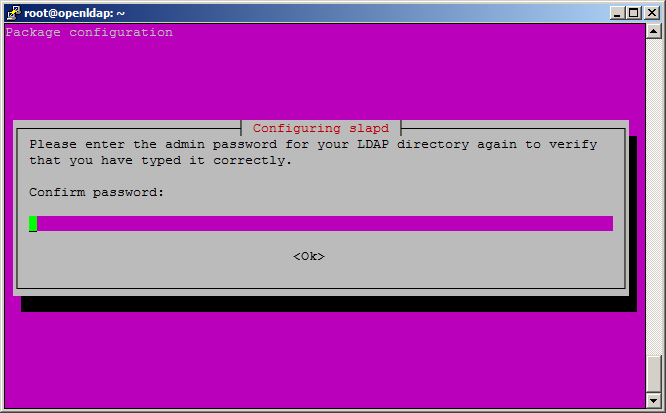
And also have to verify it again.
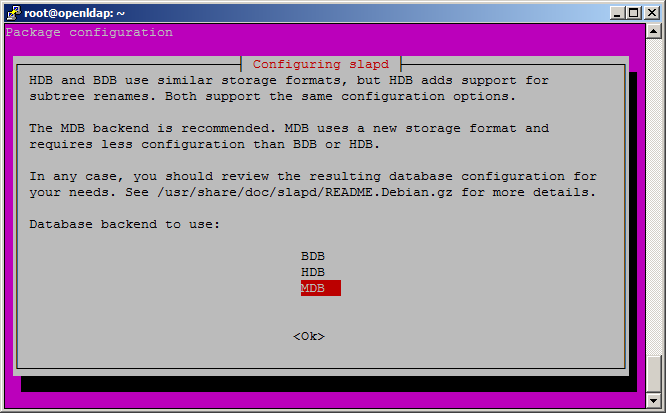
We have to choose the type of database, but we keep the default (which is MDB in this version of OpenLDAP).
The configuration will ask if the database should also be deleted when the OpenLDAP package is removed via the --purge option (if you remove Ubuntu package without this option, configurations, databases and other files may remain on the system for the next installation of the package).
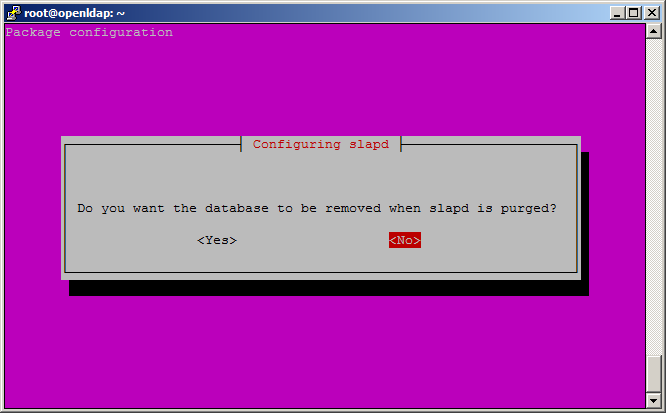
Now the configuration should set up everything for you.
  Backing up /etc/ldap/slapd.d in /var/backups/slapd-2.4.45+dfsg-1ubuntu1.6... done.
  Creating initial configuration... done.
  Creating LDAP directory... done.
You'll find the database in the directory /var/lib/ldap.
Administration
For the following steps I recommend download and installing the Apache Directory Studio (as I write this tutorial the latest version is 2.0.0-v20200411-M15).
At the first start you'll see a welcome screen.
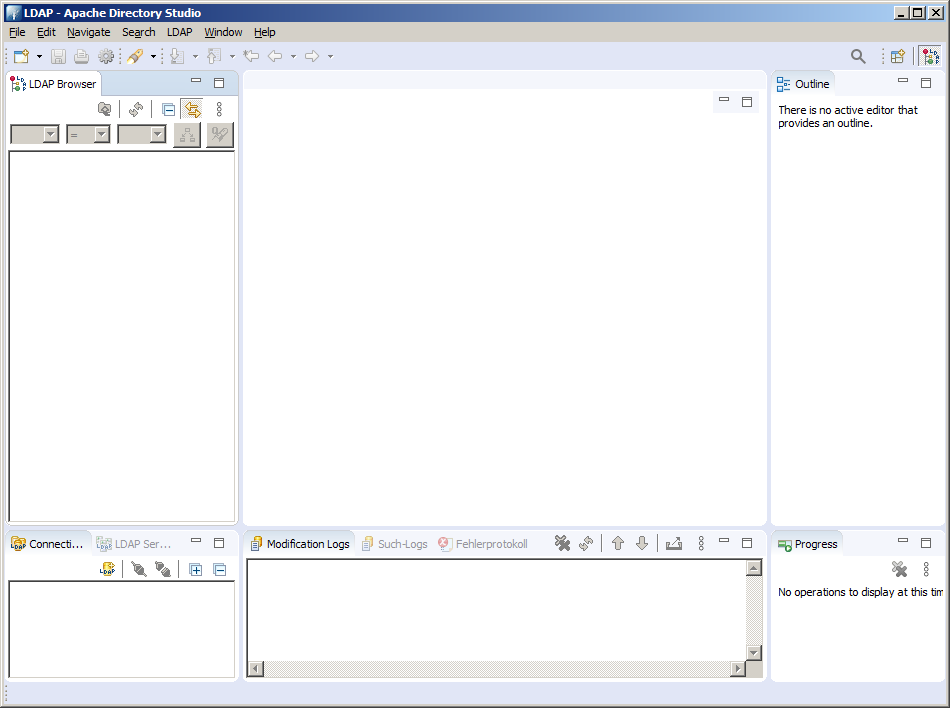
If you close it, you'll the normal user interface. Don't get intimidated by it. It looks more complicated than it is.
In the section in the lower left you'll find a tab Connections. Click on the New connection... button (the left most one).
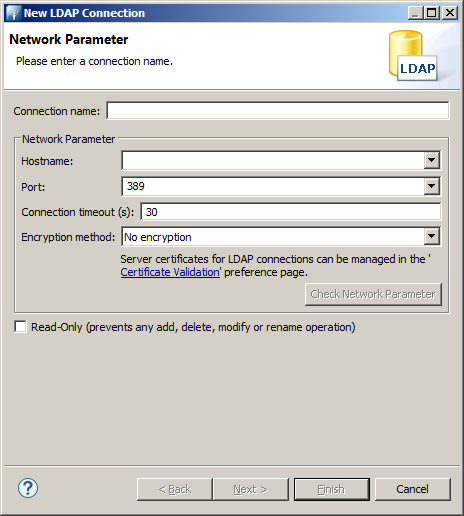
Now you get a dialog for the setup of the connection. The Connection name can be freely enter and will be the label of the connection. The Hostname should be the DNS or IP address of the OpenLDAP host. As we didn't configure any SSL the port should be the default port 389. We also haven't configured any encryption, so No encryption.
Finally press the Check Network Parameters button for checking if all the basic connection parameters are correct.
You should get a message like this:

Move on to the next page via the Next button.
Here you enter cn=admin,[DNS] in the Bind DN or user field (replace DNS with your base DN, e.g. cn=admin,dc=acme,dc=org; don't put the organization in here!).
Also fill the LDAP administrator's password into the Bind password field.
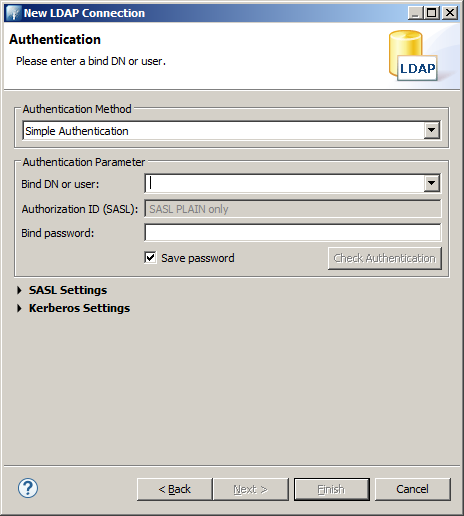
When you press the Check Authentication button, you should get the following message.

Now press the Finish button as the following pages of the wizard will only show some advanced options we don't need here (of course you also can have a peak at it by pressing Next - you won't "destroy" anything by doing so, as long as you don't "touch" anything).
On the lower left corner you now should see the new connection (the Apache Directory Studio will open it automatically for you). And in the LDAP browser you should be able to see your base DN (e.g. dc=acme,dc=org). If you open that, you should get an addition cn=admin entry.
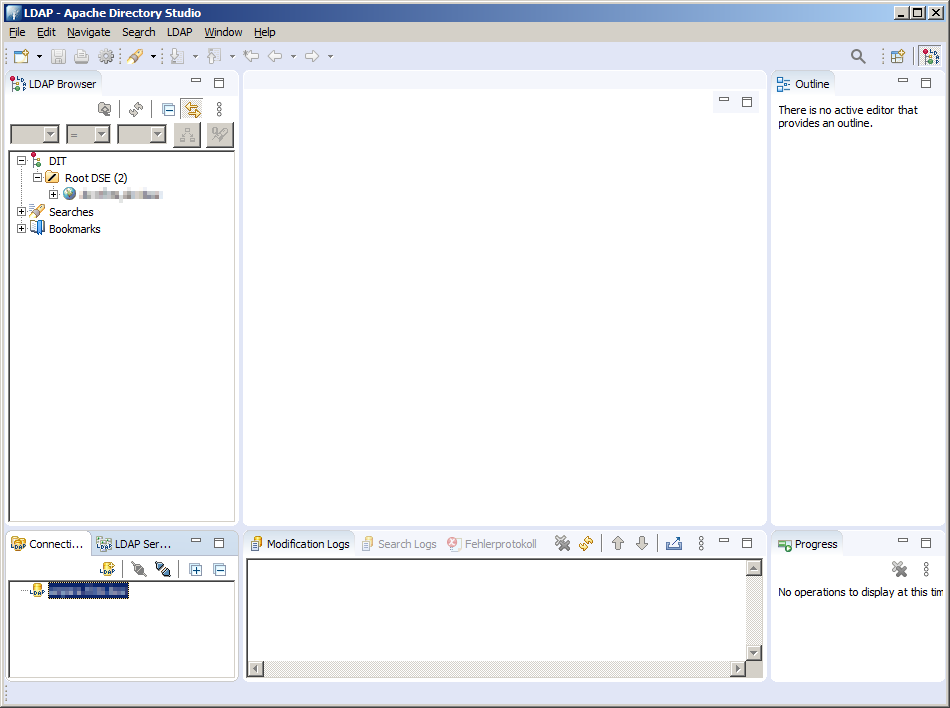
At this point we finally can create our first user. In the current configuration users can see all the other users / LDAP entries. They have access on their own password and also can change it, but they can't see and can't see passwords of other users. Only exception is the LDAP administrator user which access on everything and sees everything (passwords are hashed, so the administrator can only see the hash, but not the actual password of users).
Click on the base DN in the LDAP Browser on the left side with the right mouse button to open the context menu. Choose New > New Entry.
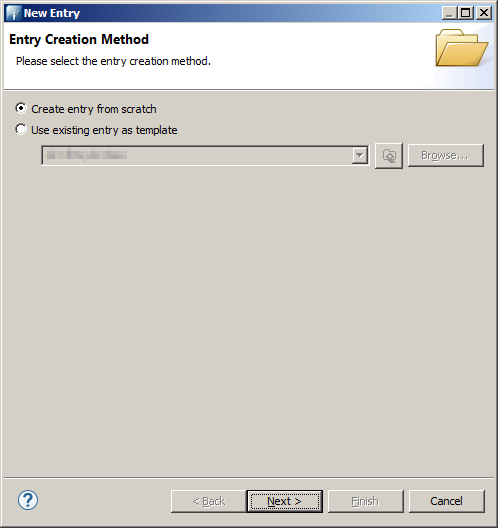
In the dialog choose Create entry from scratch and press the Next button.
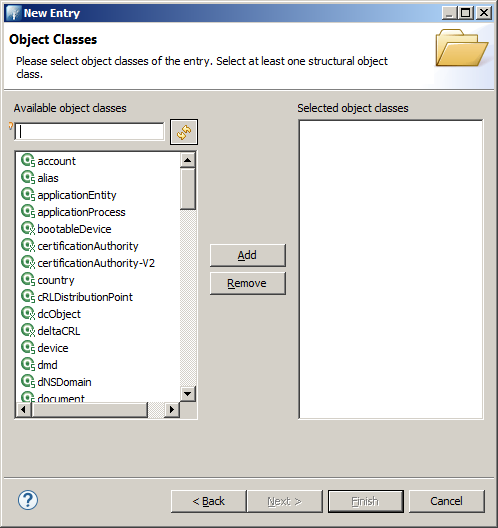
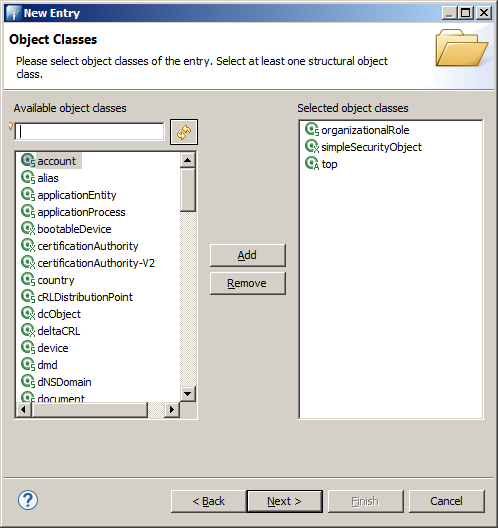
In the following page you can define which classes your LDAP entry should inherit.
Minimum user
The minimum for an user is organizationalRole and simpleSecurityObject. Press Next when you finished adding the classes.
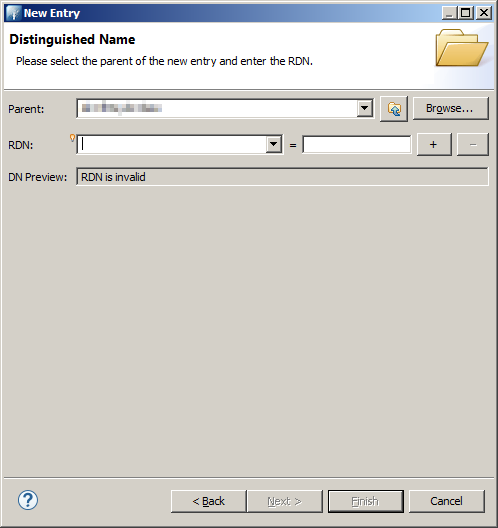
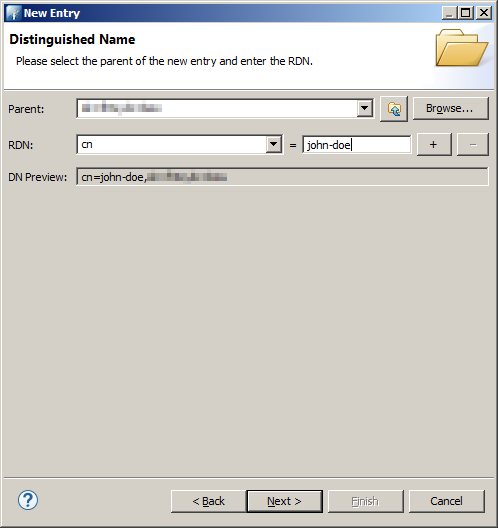
In this page you have to configure the distinguished name of the entry. This is the unique identifier of the entry in the LDAP directory.
We use the cn (common name) attribute.
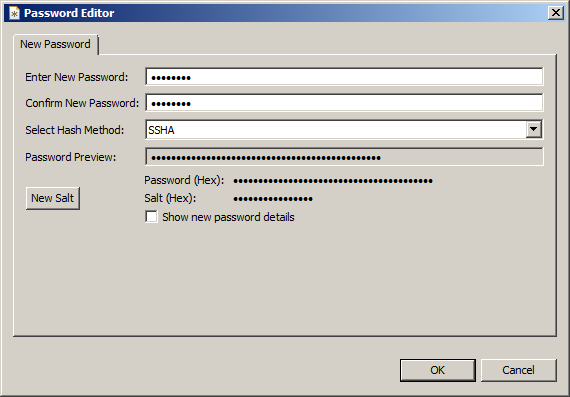
As we have defined the simpleSecurityObject for our entry, the Apache Directory Studio opens now a password dialog as that class defines a password attribute.
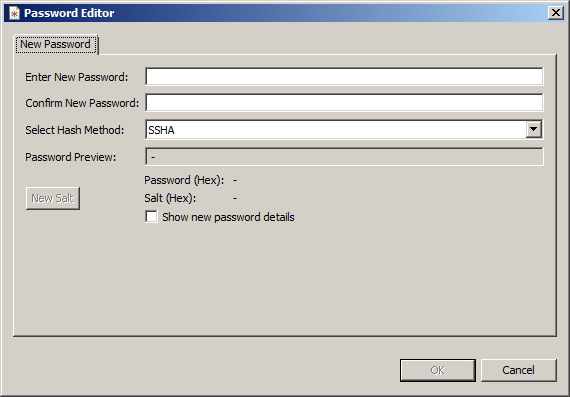
Enter a password and a password verification, then press OK.
Now you'll see our new entry. It isn't yet stored in the LDAP and we can define more attributes, if needed. Pressing the Finish button will store the entry in the directory.
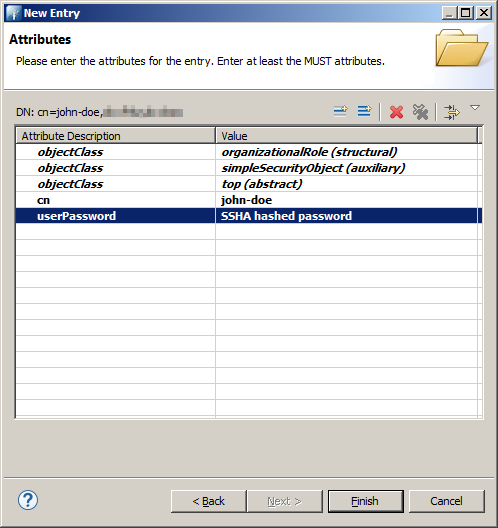
The new entry will be selected and you can modify it. E.g. double-clicking on the userPassword attribute will open a password dialog.
You also can create now a second connection to the LDAP directory using cn=john-doe,dc=acme,dc=org as Bind DN or user. If you're using that connection, you should be able to verify and modify the password of that user's entry, but e.g. shouldn't be able to see the userPassword attribute of the administrator's entry (also you should be able to see the administrator's entry and all of its other attributes).
Full-fledged user
As mentioned earlier: Using the classes organizationalRole and simpleSecurityObject are the minimum for an user. For a full-fledged user - and I recommend that if you want to try one of my other tutorials - should inherit the classes inetOrgPerson and simpleSecurityObject.
Any entry should then look like this:
| Attribute | Value / Description |
|---|---|
objectClass |
inetOrgPerson |
objectClass |
organizationalPerson |
objectClass |
person |
objectClass |
simpleSecurityObject |
objectClass |
top |
cn |
"Common Name", the name of the user (e.g. John Doe). Note: Some programs (e.g. Nexus) use that attribute for splitting it up into first name and last name by the first whitespace. So keep that in mind. |
sn |
"Surname", the family name / last name of the user (e.g. Doe). |
userPassword |
The password, e.g. a SSHA hashed password. |
givenName |
The first name of the user (e.g. John). |
mail |
The email address of the user (e.g. j.doe@mycompany.com). |
uid |
The universal ID which should be unique over all users. This is the user-name you have to enter when you're asked for credentials (e.g. j.doe). |
There are more fields - and you can fill them out, if you want - but those are the minimum.
Conclusion
Setting up a LDAP service and a LDAP directory isn't that hard at all. Any many other programs rely on it (like the user management of Nexus, Bugzilla or Jenkins. So it is an alternative if you're not already using e.g. a Microsoft Active Directory which ships with a built-in LDAP service.
OpenLDAP offers a more elaborated user rights management which I didn't cover in this tutorial (e.g. you can define on which objects users have write access, on which only read access and on which no access at all). Also didn't deal with SSL support. Both maybe subjects of a future tutorial.
